Easy Royal Icing Recipe: Decorate Beautiful Sugar Cookies Flawlessly
There’s an undeniable charm to a perfectly decorated sugar cookie. These little works of art, often gracing holiday tables, birthday parties, or thoughtful gift boxes, possess a magical quality that delights both the eye and the palate. For many, the idea of creating such intricate designs at home seems daunting, reserved for professional bakers or those with hours to spare. However, with an easy royal icing recipe and a few simple techniques, you too can transform simple cut-out cookies into stunning, bakery-worthy masterpieces. This guide will walk you through the essential steps to achieve those coveted, beautifully
iced sugar cookies every single time, ensuring they are not just pretty, but incredibly delicious.
The Allure of Perfect Iced Sugar Cookies: More Than Just a Treat
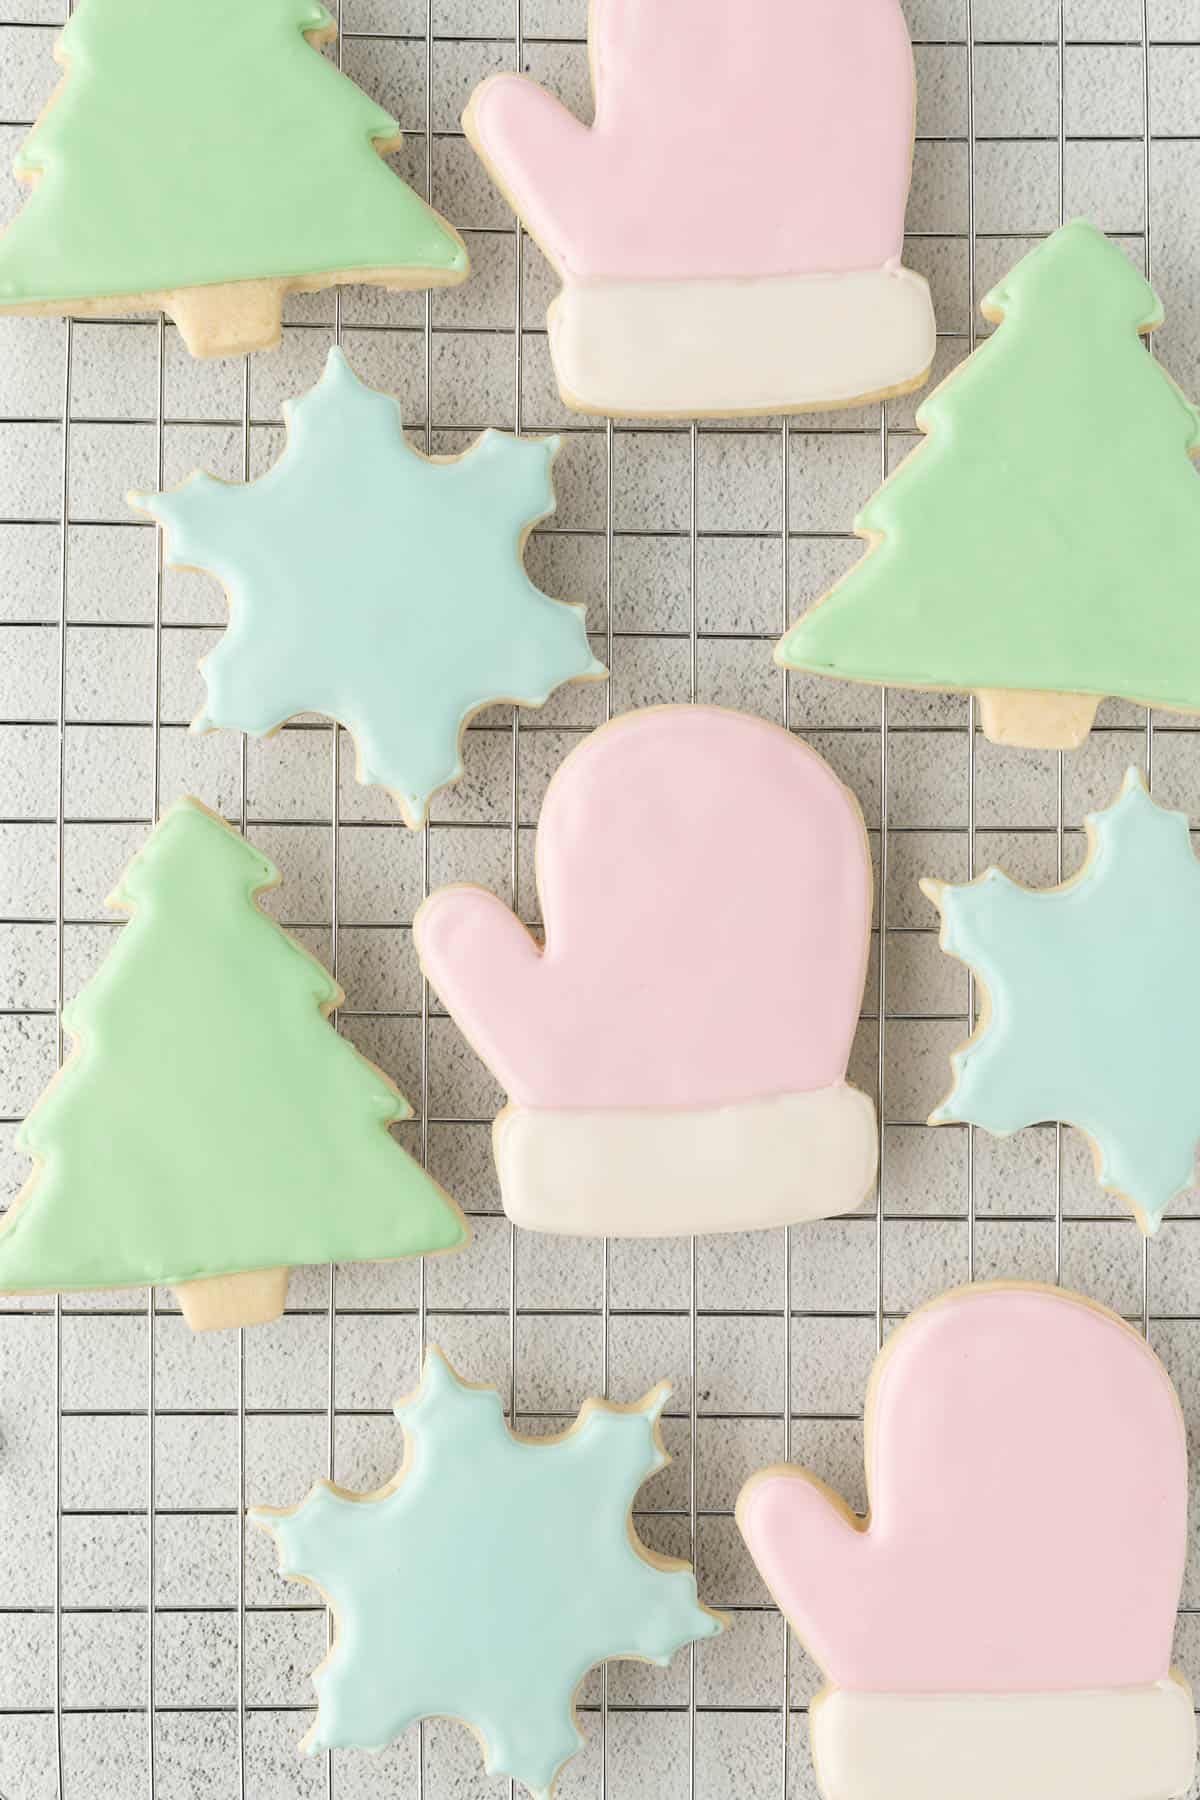
What makes an iced sugar cookie truly stand out? It's that delicate balance of visual appeal and exquisite taste. Unfortunately, many encounter bland, dry sugar cookies hidden beneath a thick layer of frosting. Our goal is different: to create cookies that are moist, decadent, and bursting with flavor, serving as the perfect canvas for your artistic expression. When done right, these aren't just cookies; they're an experience. They evoke childhood memories of festive gatherings, the scent of vanilla and sugar filling the air, and the simple joy of sharing something homemade and beautiful.
The impressive appearance of flawlessly
iced sugar cookies might suggest they are incredibly difficult to make. While they do require a touch more patience than a drop cookie, the process is far from impossible. In fact, by breaking it down into manageable steps – crafting the perfect cookie base, mastering an easy royal icing, and applying simple decorating techniques – you’ll discover a surprisingly rewarding and enjoyable baking journey. Forget the store-bought versions; these homemade delights, whether for Valentine’s Day, Christmas, birthdays, or just a Tuesday night treat, are designed to be "the ones" you’ll keep making forever.
Unlocking the Secret to Easy Royal Icing
The heart of a stunning decorated sugar cookie lies in its icing. Royal icing is the gold standard for intricate cookie decorating because it hardens to a smooth, durable finish, providing that professional, polished look. Unlike buttercreams or glazes, royal icing creates a protective shell that not only looks fantastic but also helps preserve the cookie's freshness and allows for easy stacking and gifting.
The beauty of this easy royal icing recipe is its simplicity. You only need three core ingredients to achieve the perfect consistency:
*
Powdered Sugar (Confectioners' Sugar): This fine sugar is the bulk of your icing, providing sweetness and structure. Sifting it is crucial to avoid lumps.
*
Meringue Powder: This is the magic ingredient! Meringue powder is a pasteurized dried egg white substitute that provides stability, structure, and a beautiful sheen without the hassle or safety concerns of using raw egg whites. It's what allows the icing to harden so effectively.
*
Water: The amount of water you add will dictate the consistency of your icing, which is key for different decorating tasks.
Crafting the Right Consistency
Achieving the perfect royal icing consistency is perhaps the most important skill to master, but it’s surprisingly straightforward. You’ll typically need two main consistencies:
1.
Outline Consistency (Stiff Peak): This icing is thick enough to hold its shape and act as a dam or border. When you lift your spoon or whisk, it should form a peak that holds firm. It's used to create crisp lines around the edges of your cookies, preventing thinner icing from spilling over.
2.
Flood Consistency (Runny/Medium): This icing is thinner and flows smoothly to fill in the outlined areas. A good test for flood consistency is the "10-second rule": when you drizzle a spoonful of icing back into the bowl, the ribbon should disappear and become smooth again within 8-12 seconds. Adjust with tiny amounts of water for thinner icing, or more powdered sugar for thicker.
Pro Tip: Always add water gradually, a teaspoon at a time, until you reach the desired consistency. It’s much easier to thin icing than to thicken it! Keep your icing covered with a damp cloth or plastic wrap when not in use to prevent it from crusting over.
Crafting the Perfect Sugar Cookie Base
While this article focuses on the icing, the foundation cannot be overlooked. A truly outstanding
iced sugar cookie starts with an equally outstanding sugar cookie itself. Bland or tough cookies will undermine even the most beautiful decoration. The best sugar cookies are buttery, soft, and maintain their shape beautifully without spreading too much during baking. They should be flavorful enough to enjoy on their own, but not so overpowering that they compete with the icing.
Many bakers, after countless test batches, find their "holy grail" sugar cookie recipe. These often feature simple ingredients like butter, sugar, eggs, flour, and vanilla, but it's the specific ratios and methods that make all the difference. Look for recipes that promise a soft, fluffy, bakery-style texture – the kind that truly hits different during the holidays, or honestly, any time of year. These are the recipes that ensure your beautiful designs sit atop a delectable treat. If you're looking for a recipe that will elevate your cookies to that "better than store-bought pink ones from childhood" level, you might find inspiration in finding the ideal recipe for a
Bake the Best Soft Iced Sugar Cookies: Easy Bakery-Style Recipe. For those aiming to consistently
Nail Soft Iced Sugar Cookies: Better Than Store-Bought for Any Day, pay attention to chilling the dough, not over-flouring, and baking until just set to prevent dryness.
Flawless Decorating: Your Step-by-Step Guide to Beautiful Designs
Once your royal icing is mixed and your cookies are cooled, it's time for the fun part: decorating! This is where you bring your cookies to life.
1.
Gather Your Tools: You'll need piping bags (disposable are easiest), small round piping tips (e.g., PME #1, #2, or Wilton #1, #2), and possibly squeeze bottles for flooding larger areas. A scribe tool or toothpick is also incredibly useful for moving icing and popping air bubbles.
2.
Outline the Cookie: Using your outline consistency icing, pipe a thin border around the edge of your cooled sugar cookie. Aim for an even line. This border will create a "dam" to hold your thinner flood icing in place. Let this outline set for 10-15 minutes to prevent bleeding.
3.
Flood the Cookie: Now, using your flood consistency icing, fill in the outlined area. Start by piping a zigzag pattern from the center outward, then use your scribe tool or toothpick to gently spread the icing to the edges and into any corners. Be careful not to overfill.
4.
Smooth and Pop Bubbles: After flooding, gently shake the cookie from side to side to help the icing settle and become smooth. Use your scribe tool or toothpick to gently pop any air bubbles that rise to the surface.
5.
Add Wet-on-Wet Details (Optional): If you want to create designs that lie flat within the flooded area (like dots, swirls, or marbling), apply your secondary colors of flood icing onto the wet base icing immediately after flooding. Use your scribe tool to drag through the wet colors to create patterns.
6.
Dry Thoroughly: This is critical for preventing smudges and ensuring a hard, durable finish. Royal icing needs to air dry completely. Depending on humidity, this can take anywhere from 6 to 24 hours. For best results, allow them to dry overnight on a flat surface, ideally with a fan circulating air. Once completely dry, they can be stacked and packaged without damage.
7.
Layering and Advanced Details: For designs with raised elements (e.g., lettering, intricate floral patterns, or a second layer of color), allow the first layer of flood icing to dry completely before piping on top. This prevents colors from bleeding into each other and creates beautiful dimension.
Embrace the Joy of Creation and Sharing
Beyond the technical steps, remember the true essence of making
iced sugar cookies. It's about the joy of creation, the satisfaction of seeing your edible art come to life, and most importantly, the delight of sharing these beautiful treats with others. Whether you're creating a batch for a special occasion, as a heartfelt gift, or simply to add a touch of sweetness to an ordinary day, the effort is always worth it. These cookies become edible tokens of love and tradition, sparking smiles and creating lasting memories. So, gather your ingredients, put on some music, and prepare to embark on a delicious and creatively fulfilling adventure!
Making beautiful, flawlessly
iced sugar cookies doesn't have to be a daunting task. With an easy royal icing recipe, a delicious cookie base, and a few straightforward decorating techniques, you can achieve stunning results that will impress everyone. From the simple elegance of a solid flood to intricate multi-layered designs, the possibilities are endless. Embrace the process, enjoy the creativity, and savor the delicious rewards. Happy baking and decorating!